A lot of brides nowadays try to come up with creative ways to number their tables... rather than using numbers, many will name the tables after Cities that they have visited together or lived in, or landmarks in the city of their hometown or reception city.
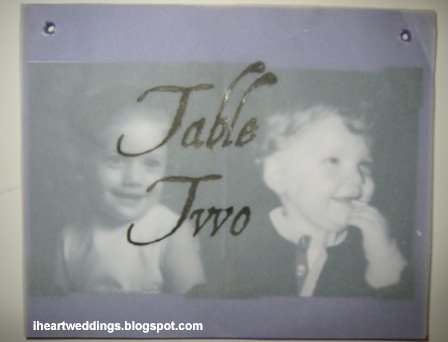
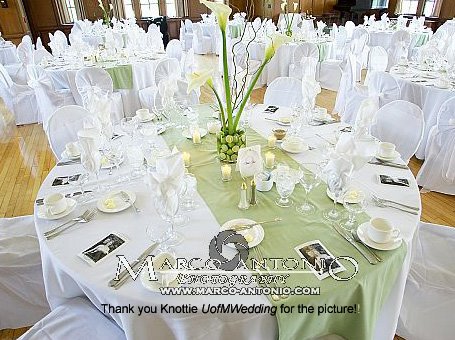
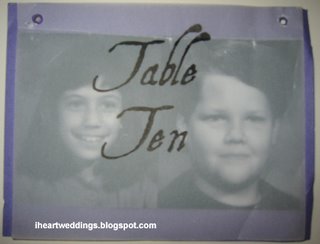
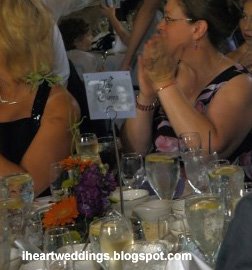
This idea still uses the traditional numbers, but with a creative twist. For our table numbers, we placed a picture of each of us at that age on the table number card. For example, table 5 had a picture of me at 5 years old and one of Jason at 5 years old. It turned out really cute and was a conversation piece for the tables... many guests were even walking around, looking at the pictures on the other tables!
Our venue wasn't really set up in a way where you could easily show a slideshow of pictures, so this was a really nice way for us to incorporate them in a more subtle fashion.
 How I made them:
* I made the
backing sheet out of colored cardstock... to save on paper, I made the signs each 1/4 of a sheet
* I printed the
table numbers on Vellum (make sure you buy the kind made for your printer type, or the ink won't dry!), also were sized at 1/4 page. I made my table numbers 2-sided, so printed two of each number
* I gathered the
pictures of us at different ages... I didn't want to use (& potentially ruin!) the originals, so I scanned all the pictures, made them black-and-white, & then had them re-printed (I used
Walgreens.com because they have great prices)
--If you don't have a scanner, I recommend going to your local copy shop & making
color copies. When copying an original photograph, the quality is great- almost looks just like the original photo! You can set up the copier to print black-and-white too to get the same look as shown here. Shop around for pricing- Staples in my area does copies for $0.39 - Kinkos is much more expensive for me!

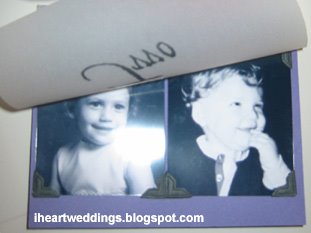
To assemble, I first attached the pictures to both sides of the backing sheet. I used photo corners, but regular craft adhesives would work just as well (and be less of a pain!). Then, I assembled all 3 layers- Vellum (with table number on it), Backing Sheet (with pictures glued down), second Vellum sheet. I punched holes in the top corners & used Eyelets to hold all the layers together.
--You can buy Eyelets & the Eyelet Setter tool at most craft stores... holding all the layers together with ribbon would also be cute!
We just used the table number stands that our venue had & they worked great- you can see a (not great) picture of one on a stand here:
 Hints:
-People will want to lift up the vellum to see the pictures, so only attach the layers at the top (or one side)
-We only had 17 tables, so this worked well for us... just something to think about if you're really young or having a really large wedding (i.e. 30 tables and you're only 20!)
-Don't be ashamed of your awkward phases... we did feel like we needed to apologize to the guests at tables 12 & 13 (not our best years!), but it was a great conversation starter!
Another nice reason to use numbers over named tables is that it's easy for guests to find their tables... someone at table 9 knows they are near 8 and 10, but someone at 'Milan' won't really have the other tables to guide them.
i heart weddings,
Nicole

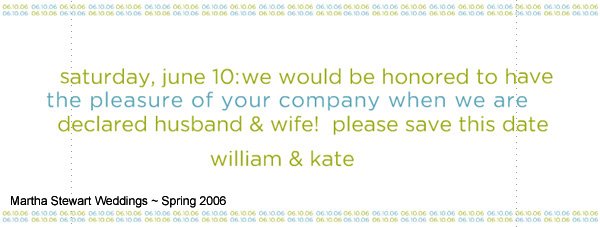
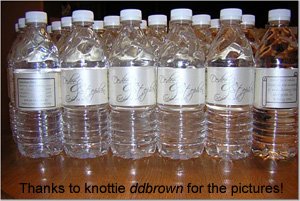
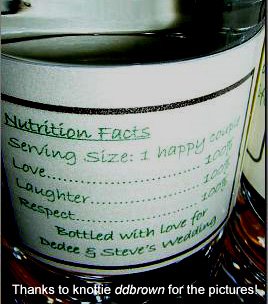
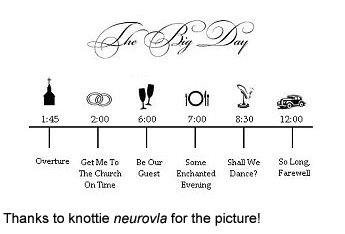 This is a cute addition to the 'Out of Town' bags your Hotel hands out, or even as a part of your program or pre-festivity Bridal Party information. You want everyone to be informed, but realize that most people won't bother to wade through your bridezilla-length email or note... so, this is a nice way to get your information across in a cute & informative way.
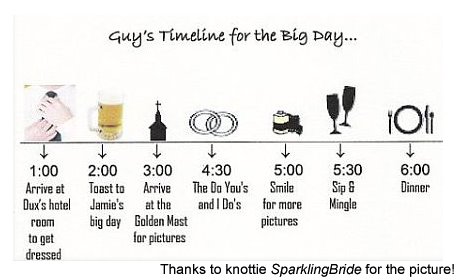

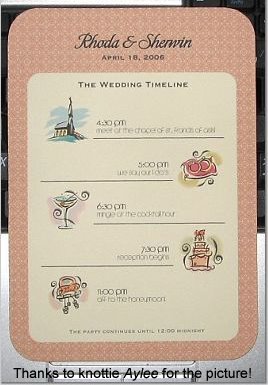 And while many brides opt to keep this fairly simple, the cuteness factor goes up when you incorporate your colors & make it match your other paper goodies, like the one here.

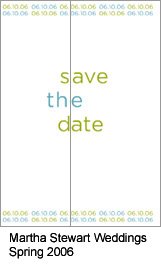
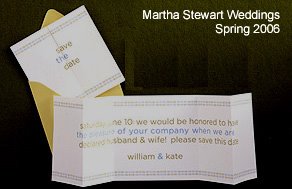 So, I was reading my newest Martha Stewart Weddings Magazine (